
A sourdough bread starter kit is an essential foundation for anyone passionate about making traditional sourdough at home. It contains everything needed to begin your journey, from proofing baskets and dough scrapers to starter jars and scoring tools. These kits ensure that the fermentation process starts right and continues in a healthy, consistent manner. With a proper kit, bakers can confidently build and maintain their own starter culture without the guesswork. Using the right tools also makes the process less intimidating for beginners and more enjoyable for seasoned bakers. The right kit minimizes errors and supports quality outcomes. Many of the kits also come with detailed guides, which offer step-by-step instructions to help bakers understand the rhythms of feeding the starter, recognizing its growth, and utilizing it at peak activity. It’s not just about convenience; it’s about setting a strong foundation. Investing in a trusted sourdough bread starter kit ensures consistency in results and fosters a deeper connection with the craft. For those who aim to bake artisan-quality bread at home, starting with the proper kit is the smartest first step.
Understanding the Fermentation Process
Fermentation is what makes sourdough baking so special. When flour and water mingle and start to interact with wild yeast and bacteria in the air, the mixture ferments on its own, giving it a deep flavor. The starter is the most important part of any sourdough preparation. Lactic acid is made by good bacteria during fermentation. This gives the bread its tangy taste and makes it easier to digest. Wild yeast naturally leavens sourdough, giving it its characteristic airy crumb and chewy texture. Over time, keeping an eye on and caring for this fermentation will make a powerful starter. Bakers can change the taste and texture of the final loaf by changing the temperature, feeding schedule, and hydration levels. It can take a while to get good at this part of sourdough baking, but it’s worth it. Each batch becomes better with time. When you understand fermentation, you know when the starter is ready, when the dough has risen enough, and when it’s time to bake. This is what makes the difference between loaves that are flat and dense and those with a wonderful open crumb and blistering crust. Anyone who loves sourdough must accept this living, breathing part of baking.
How to Choose the Right Flour for Your Starter
Flour isn’t just an ingredient; it’s what keeps your starting alive. Different types of flour feed the wild yeast and bacteria in different ways, which changes how the starter works and how your bread tastes. Whole wheat and rye flours are considered to be very active since they have more nutrients in them. They are great for starting a starter since they speed up fermentation and help yeast develop quickly. You can also use white bread flour to keep the flavor moderate, especially after the starter has been going for a while. Using a blend of flours is frequently the best way to go. Whole grain flours are used to start the culture, and white flour is used to keep it going. The freshness of the wheat is also important; newly milled flours usually have more nutrients and natural organisms that help fermentation. Choosing organic, unbleached flour is usually a good idea because it keeps the natural microbes that help the starting work. Choosing the proper flour helps make sure that your starter is strong and healthy and that it makes tasty loaves every time.

Keeping Your Starter Healthy
To make sourdough last, it’s important to keep your starter alive and well. A beginning, like any other living thing, needs to be fed and cared for on a regular basis. By throwing away some of the starting and giving it new flour and water, you can keep the microbiological balance in check. If you take care of your beginning, it should rise and fall in a predictable way and smell nice and somewhat sour. You might need to feed it more often or move it to a different place if it smells bad or doesn’t rise correctly. The temperature is quite important. Fermentation happens faster in hot places and slower in chilly ones. You can see how your starting is doing and know when it’s at its best by keeping it in a glass jar. Simple but important things to do are to stir between feedings and always use clean equipment to avoid contamination. Your starter gets stronger and more reliable as time goes on. If you take care of it, a sourdough starter can last forever and be passed down from one baker to the next. It’s a partnership that keeps things consistent and deep in every bake.
Making the Dough Just Right
The texture of the dough will affect how the bread rises and how it crumbles. The first step to getting the right texture is to add water to your flour. More water makes the crumbs more open and airy, but it can be difficult to work with. When you knead or stretch and fold the dough the right way, you create the gluten network that traps gases during fermentation. If the dough is too stiff, it won’t rise well. If it’s too sticky, it can fall apart. It takes practice and attention to get this balance correct. Allowing the dough to rest, or autolyse, before kneading makes it easier to work with since the flour absorbs the water. As fermentation goes on, the dough should feel smooth, stretchy, and a little sticky. For shaping and baking, it’s important to know when the dough has gotten strong enough. The windowpane test and the finger poke test can assist you figure out if you’re ready. The type of flour and the weather also affect how the texture changes. To make gorgeous loaves with shiny crusts and open, tasty insides, you need to know how to handle dough.
Techniques for shaping that give artisan results
Shaping the dough is an important process that affects how your bread looks, how it feels, and how it rises in the oven. Whether you’re making boules, batards, or baguettes, shaping the dough creates surface tension that keeps gas in and makes it rise high in the oven. To shape dough well, you need to be careful with it. If you work it too much, it will lose its shape. If you don’t shape it enough, the loaves will be flat and uneven. To keep things from sticking, lightly dust your hands and work surface with flour. Don’t use too much flour, though, because it can stop gluten from forming. Put the dough in a proving basket or a banneton after it has been shaped to help it keep its shape. Shaping also makes the outside smooth, which is great for scoring right before baking. You get better at shaping over time by practicing. Even home bakers may get professional-looking outcomes with a great oven spring and a nice crumb structure if they practice often.
The Importance of Temperature in Baking
The temperature has an effect on every part of the sourdough process, from the starter to the fermentation to the final baking. Fermentation and proofing go faster in warmer places and slower in chilly ones. If you know what the temperature is like in your kitchen, you can better plan when to bake. Keeping the temperature steady during bulk fermentation makes guarantee that gas production and dough growth happen at the same time. Putting dough in the fridge to cool it down, or “cold proofing,” makes it taste better and makes it easier to score. The temperature of the oven is also very essential. To get a crisp crust and a powerful oven spring, you need to fully preheat your oven and use a baking stone or Dutch oven. Keeping an eye on and changing the temperature is very important, especially for sourdough, which needs slow, controlled fermentation. For consistency, thermometers for both the dough and the oven are great tools. When you learn how to control the temperature, you improve every step of the baking process and make loaves that are more reliable and tasty.
Why You Should Score Your Dough
Scoring is both useful and artistic. It lets steam out as the bread is baking and controls how the loaf grows in the oven. If you don’t score your bread, it can crack in strange ways. You need a sharp knife or blade to make clean, precise cuts. The form and look of the finished loaf depend on how deep and at what angle each score is. Decorative scoring also makes your loaves seem better and gives them a personal touch. Practicing different designs might make your bread look better. Scoring affects the bread’s rise and structure, not just how it looks. It’s often the last thing you do before baking, and doing it well sets the stage for success. Timing is key: score the dough right before it goes in the oven, when it’s still cool from the fridge. This keeps the design’s definition. With repetition, your scoring will get better and more consistent, making your loaves look like works of art that you can eat.
Getting the Baking Process Down
This is where all your hard work in the kitchen pays off. To make a great loaf, the dough needs to be well-fermented, shaped, and scored, and the oven needs to be just right. Get a lovely crust by preheating your oven all the way and using steam. A Dutch oven works like a professional steam-injected oven by keeping heat and moisture inside. Timing is key; if you don’t bake it long enough, the inside will be sticky, and if you bake it too long, the crumb will dry up. It helps to know how your oven works. To get an even hue, some bakers turn their loaves while they bake. After baking, listen to the sound of the crust. A hollow tap at the bottom is a good clue that it’s done. Letting the bread cool on a wire rack stops the bottoms from getting soggy and lets the inside finish cooking. The smells that come out at this point are a pleasure in and of themselves. As you bake, pay attention to the crust, crumb, and flavor to improve your method. Experience and paying attention to details make you consistent.
How to Store Your Sourdough
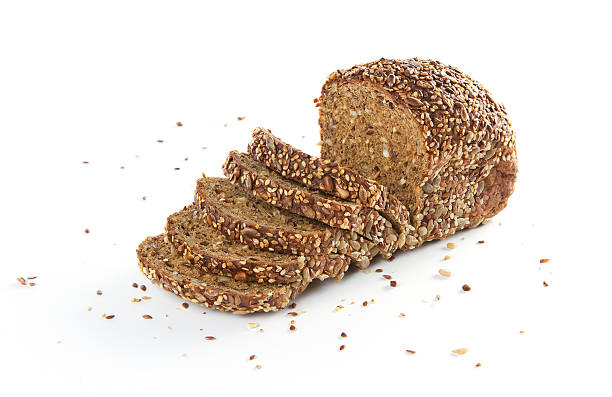
If you store your sourdough correctly, it will stay fresh and tasty for days. Put the loaf in a paper bag or wrap it in a clean cloth after it has cooled down completely. This will keep the crust from drying out. Don’t use plastic unless you want a softer crust, because it keeps moisture in and can develop mold. Another fantastic way to keep bread fresh is to store it sliced side down on a wooden board. Sourdough freezes well for prolonged storage. Just wrap it firmly in foil or plastic and then put it in a freezer bag. Cut into pieces before freezing so you can easily get to them. To make the crusty again, reheat in the oven when you’re ready to eat. Don’t put sourdough in the fridge; it will go bad faster there. If you learn how to store your baked goods correctly, they will last longer and you will waste less. It also makes sure that every slice, from the first to the last, tastes as fresh as possible.
How to Use Sourdough in Your Daily Cooking
Sourdough can be used for more than just bread. A good beginning may make pancakes, waffles, pizza crusts, muffins, crackers, and even spaghetti taste better. Adding sourdough to your daily meals gives them more taste and nutrients and makes you less dependent on store-bought yeast. Fermentation breaks down gluten and phytic acid, which makes grains easier to digest. Many recipes employ leftover food from feeding, which cuts down on waste and makes the most of your starter. Sourdough gives new vitality to old recipes, including biscuits that are tart and cinnamon rolls that are airy. Trying out several recipes can also help you realize how flexible the starter is. Sourdough cooking is fun since it lets you be creative and try out a wide range of foods. It’s not just about making loaves.
Perfecting Your Homemade Craft
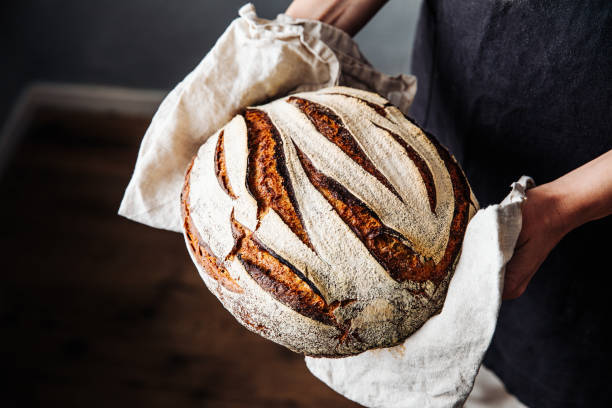
Baking homemade sour dough bread is both a science and an art. It invites you into a process that is ancient, meditative, and deeply satisfying. Every loaf you pull from the oven carries the story of your patience, effort, and learning. With the right ingredients, proper tools, and a little guidance, anyone can bake bread that’s flavorful, nutritious, and beautiful. The journey from flour and water to a golden, crusty loaf is filled with challenges and triumphs. Whether you’re baking for your family, your friends, or yourself, it becomes more than just food—it’s a gift. Tools like those from Abioto can enhance the process, but the true magic lies in your hands. Continue refining your craft, exploring new techniques, and enjoying every step of this delicious adventure.